Of course! This method is fantastic. Starting with a high temperature ensures crispy, beautifully browned skin, while the long, slow cook makes the meat incredibly tender and juicy. Adding the root vegetables partway through prevents them from turning to mush.
Here is a detailed recipe and guide for your spatchcock chicken.
Why This Method Works
- Spatchcocking: Removing the backbone and flattening the chicken allows for even cooking and maximum exposure to heat, resulting in perfectly cooked white and dark meat.
- High-Then-Low Heat: The initial blast of high heat renders the fat under the skin, making it crispy and golden. The subsequent low-and-slow phase gently breaks down the connective tissues, making the meat fall-off-the-bone tender without drying it out.
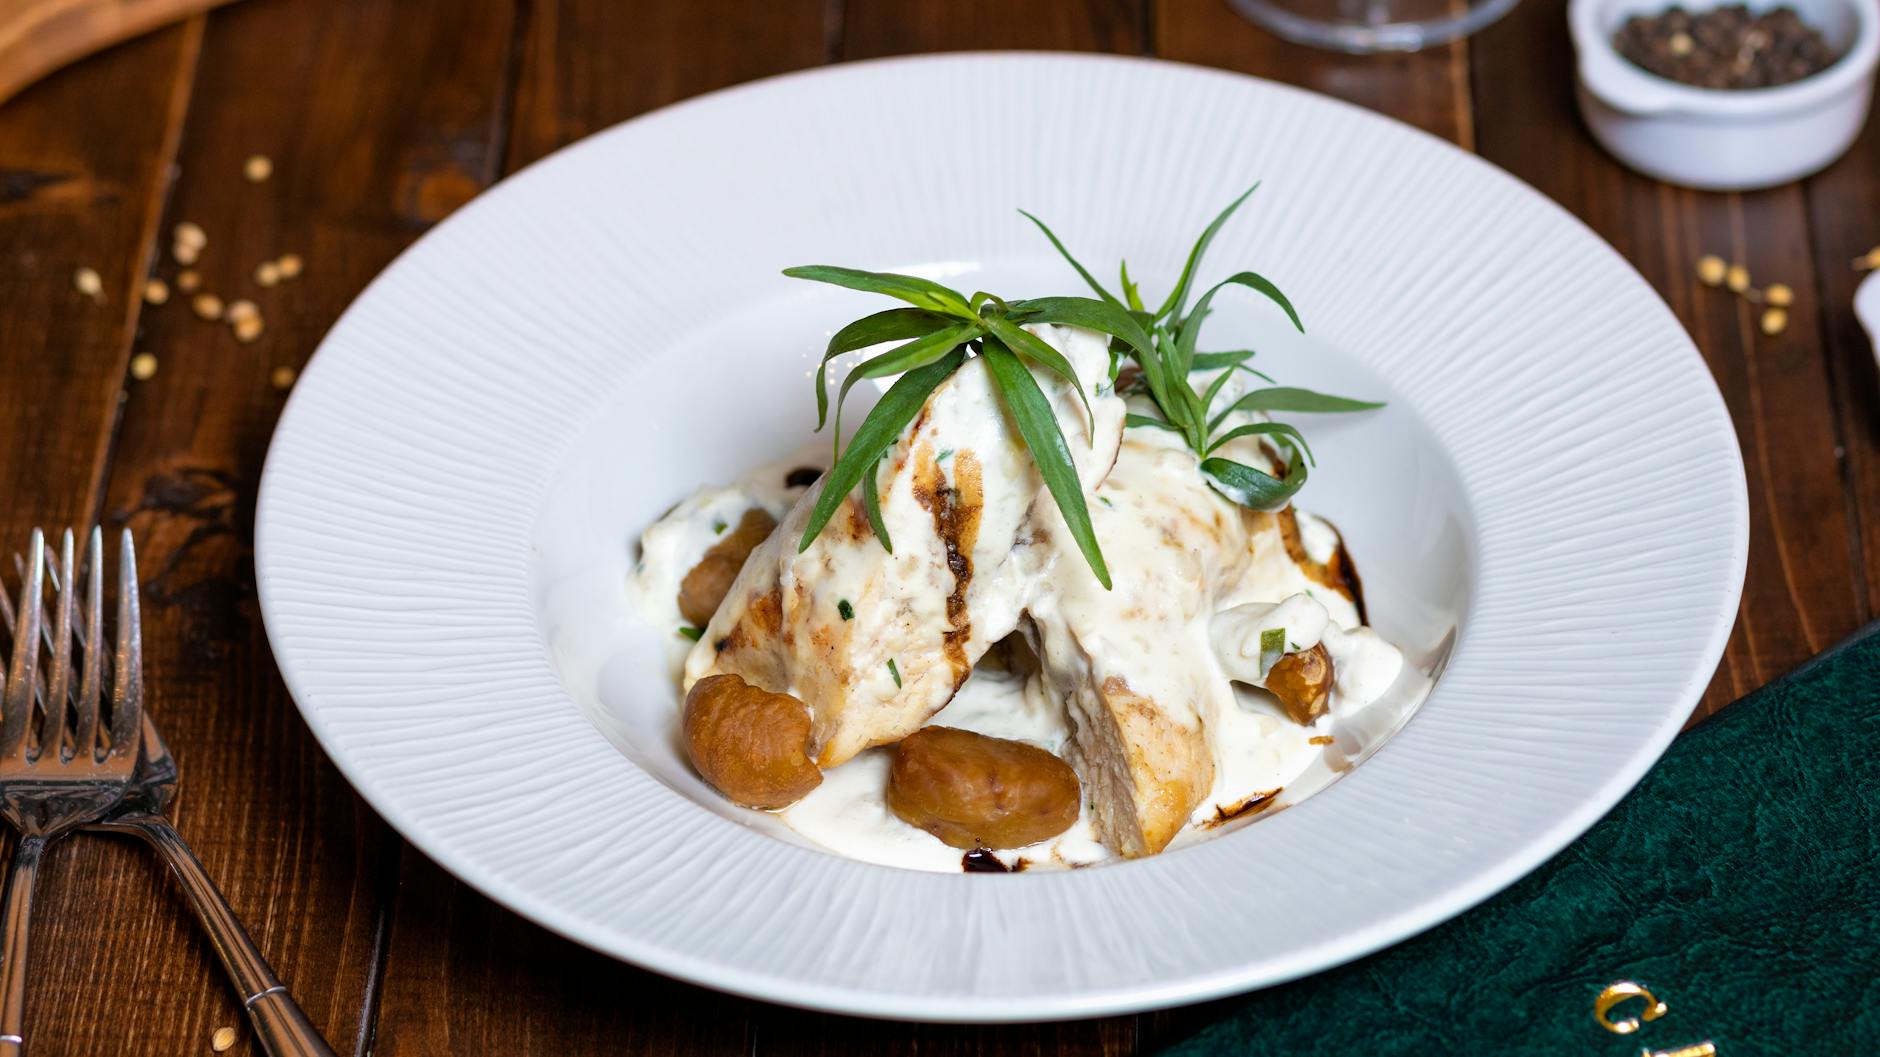
- Butter & Tarragon: This is a classic, elegant combination. The butter bastes the chicken from the outside, while the tarragon provides a subtle, anise-like flavor that pairs wonderfully with chicken and root vegetables.
Crispy & Tender Spatchcock Chicken with Roasted Carrots and Sweet Potatoes
Prep time: 20 minutes
Cook time: 4 hours
Serves: 4
Ingredients
- 1 whole chicken (3.5 to 4.5 lbs / 1.5 to 2 kg)
- 4 tbsp unsalted butter, softened
- 2 tbsp fresh tarragon, finely chopped (or 2 tsp dried tarragon)
- 1 lemon, zested and cut into quarters
- 4-5 cloves garlic, minced
- Salt and freshly ground black pepper
- 4 large carrots, peeled and cut into 2-3 inch chunks
- 2 medium sweet potatoes, scrubbed and cut into 1.5-inch wedges
- 1 tbsp olive oil
Equipment
- Kitchen shears or a sharp knife
- Rimmed baking sheet or large roasting pan
- Wire rack (highly recommended but optional)
- Small bowl
- Paper towels
Instructions
Step 1: Prep the Chicken (30 minutes before cooking)
- Spatchcock the Chicken: Pat the chicken completely dry with paper towels. Place it breast-side down on a cutting board. Using kitchen shears, cut along one side of the backbone from the tail to the neck. Repeat on the other side and remove the backbone. (You can save it for stock).
- Flatten It: Turn the chicken over so it’s breast-side up. Press down firmly on the breastbone with the palms of your hands until you hear a slight crack and the chicken lies flat.
- Season Generously: Lift the skin of the chicken breast and thighs gently and rub a little of the softened butter directly onto the meat. This is a secret for incredibly moist meat.
- Make the Herb Butter: In a small bowl, mix the remaining softened butter, chopped tarragon, minced garlic, lemon zest, 1 teaspoon of salt, and ½ teaspoon of pepper.
- Butter Under the Skin: Gently lift the skin again and spread about half of the herb butter mixture evenly over the breast and thigh meat.
- Butter the Outside: Rub the remaining herb butter all over the outside of the chicken skin. Season the entire outside of the chicken generously with more salt and pepper.
- Let it Rest: Tuck the lemon quarters into the cavity where the backbone was. Let the chicken sit at room temperature for 30 minutes to take the chill off. This helps with even cooking.
Step 2: The High-Temperature Blast
- Preheat your oven to 425°F (220°C).
- Place the spatchcocked chicken on a wire rack set inside a rimmed baking sheet, or directly onto the sheet. If you have a wire rack, use it. It allows hot air to circulate all around the chicken for better crisping.
- Roast the chicken at 425°F (220°C) for 30-45 minutes, or until the skin is golden brown and crispy.
Step 3: Prep and Add the Vegetables
- While the chicken is in the oven, toss the carrot chunks and sweet potato wedges with 1 tbsp of olive oil, and a generous pinch of salt and pepper.
- After the initial high-heat blast, carefully remove the pan from the oven.
- Scatter the seasoned carrots and sweet potatoes around the chicken in the pan. The chicken drippings will coat the vegetables, making them incredibly flavorful.
Step 4: The Low-and-Slow Finish
- Reduce the oven temperature to 275°F (135°C).
- Return the pan with the chicken and vegetables to the oven.
- Roast for the remaining 3 hours (for a total of ~4 hours). The chicken is done when the breast meat registers 165°F (74°C) and the thigh meat registers 175°F (79°C) on an instant-read thermometer. The meat will be so tender it will practically fall off the bone.
Step 5: Rest and Serve
- Once cooked, carefully remove the pan from the oven.
- Transfer the chicken to a cutting board and let it rest for 15-20 minutes. This is crucial for juicy meat, as it allows the juices to redistribute.
- You can leave the vegetables in the turned-off oven with the door slightly ajar to keep them warm.
- Carve the chicken and serve with the roasted carrots, sweet potatoes, and any pan juices spooned over the top.
Chef’s Notes & Tips
- Crispiest Skin: The key is a completely dry chicken skin before you add the butter. Pat it diligently with paper towels.
- No Wire Rack? No problem. Just place the chicken directly on the pan. The skin on the bottom may not get as crisp, but it will still be delicious.
- Don’t Crowd the Pan: Make sure the vegetables are in a single layer and not piled on top of each other for the best roasting.
- Check for Doneness: While the timing is very forgiving at low temperatures, always use a meat thermometer for perfect results.
- Pan Juices: The juices and rendered fat in the bottom of the pan are liquid gold. Don’t discard them! Spoon them over the carved chicken and vegetables for an extra boost of flavor.
Enjoy your incredible, slow-roasted feast
Leave a Reply
You must be logged in to post a comment.